

Automatic Liquidity Addition Bots
How to Set Up Auto Add Liquidity Bot
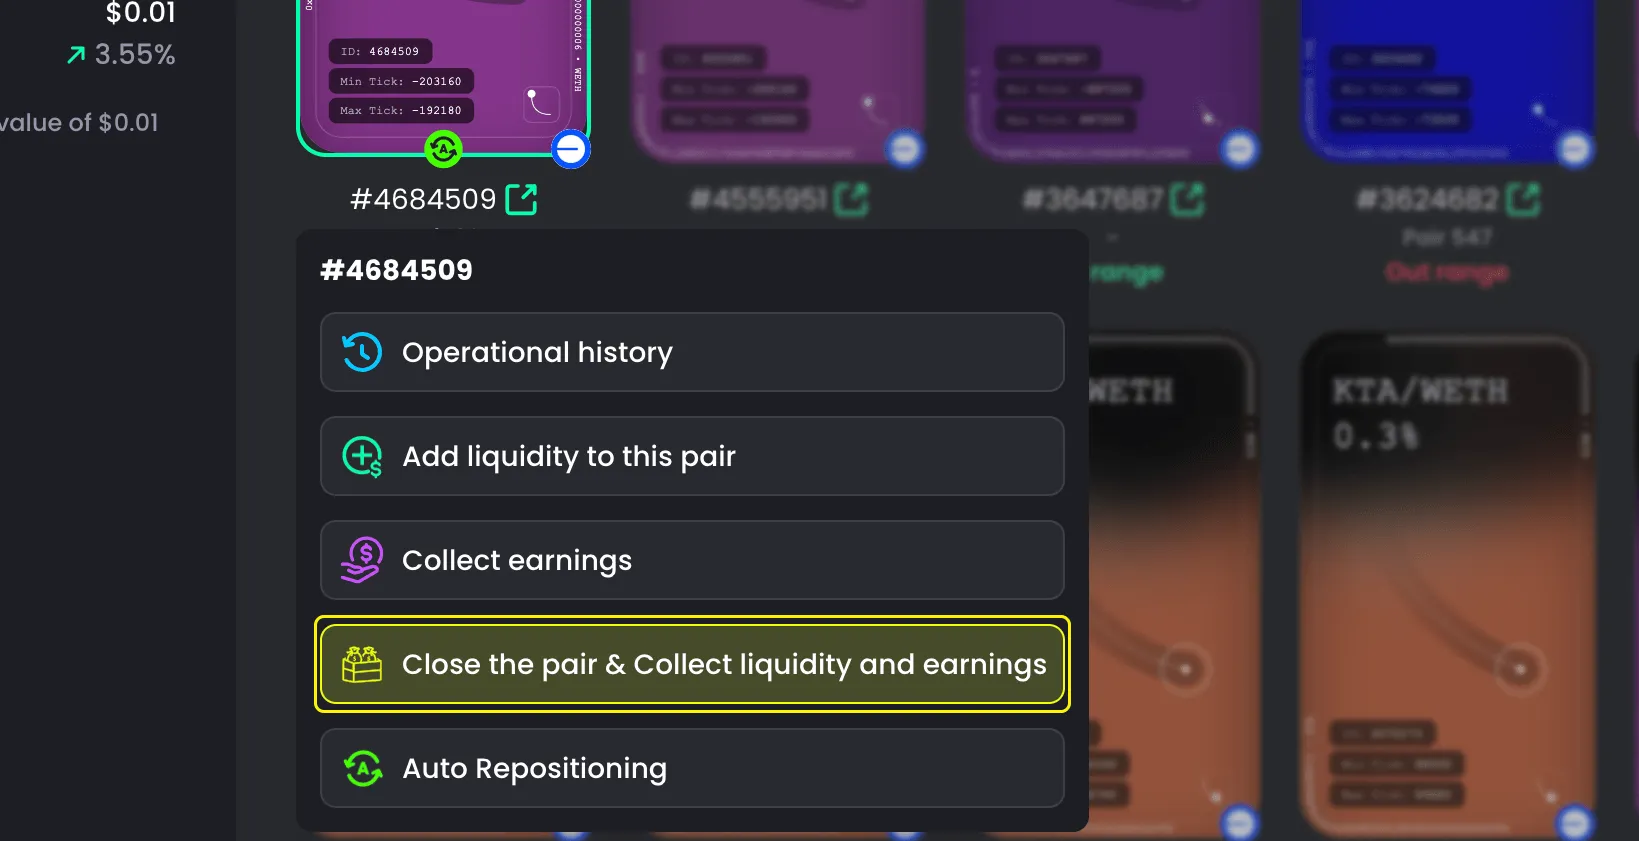
- Go to My Liquidity
- Choose the pair
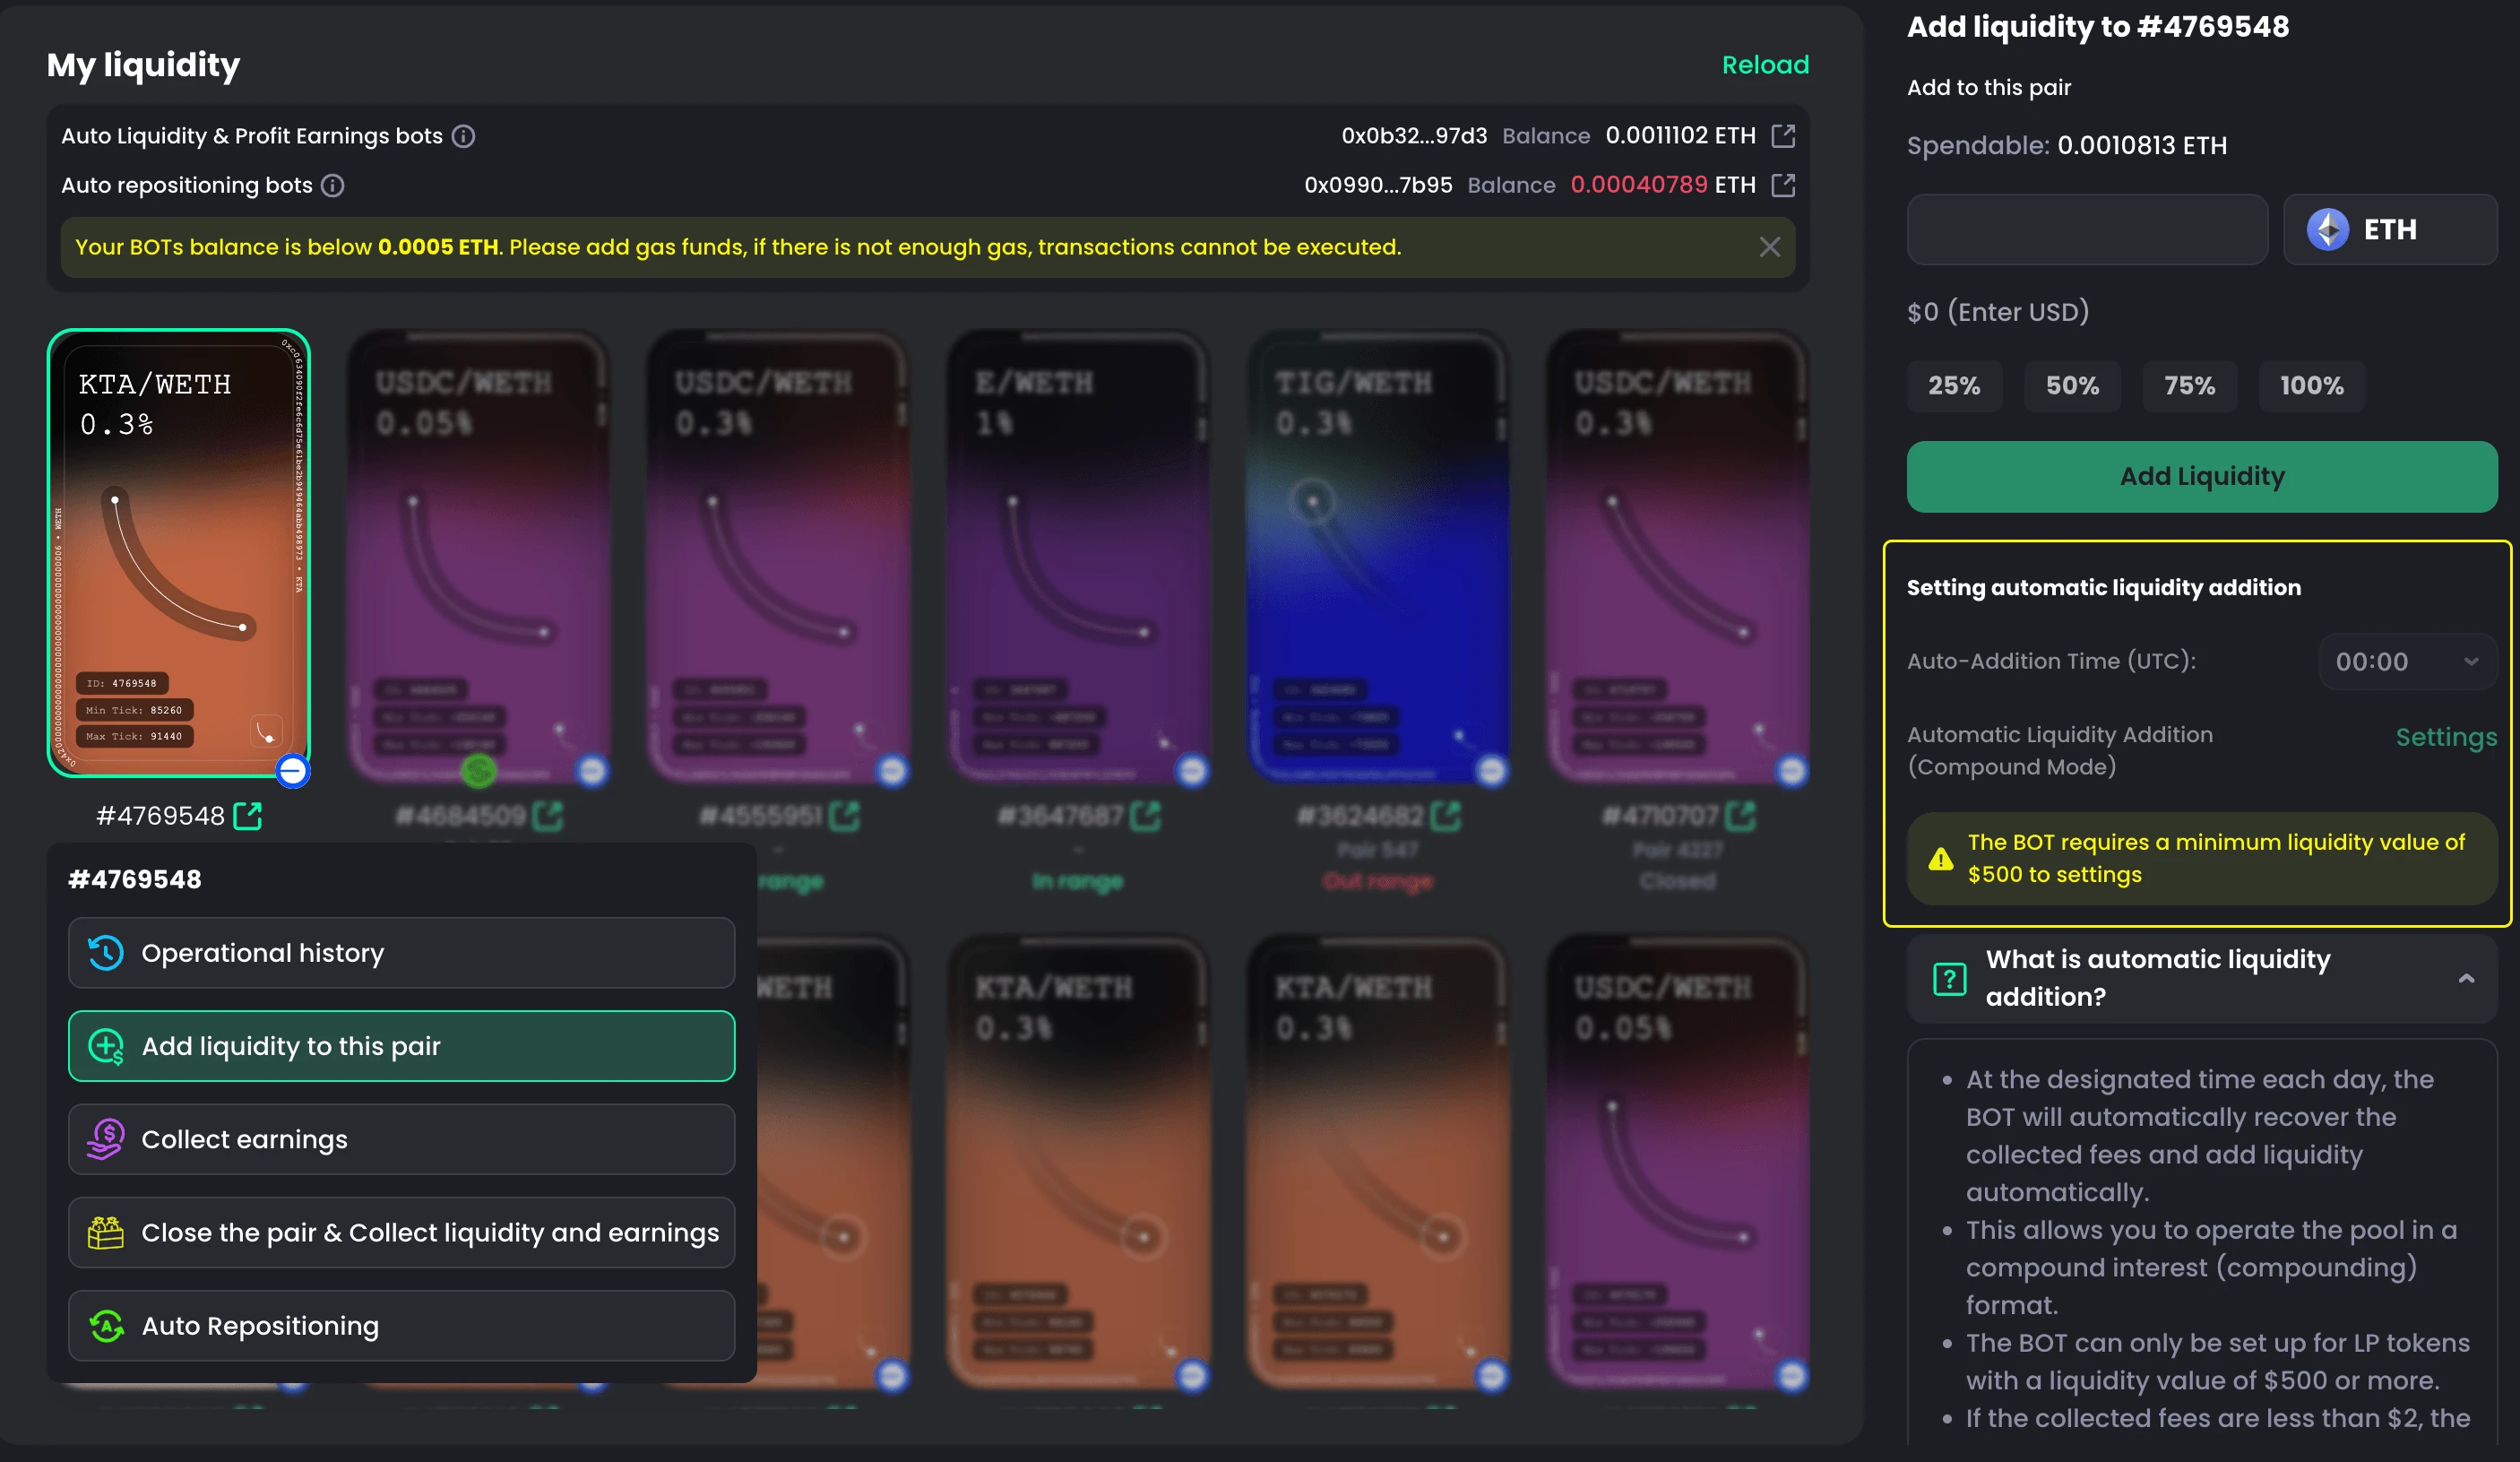
- Select Add Liquidity to this pair
- On the right panel, find Auto-Addition Time (UTC)
- Set the time
- Click Set Auto Add Liquidity
- Confirm in your wallet

How to Stop Auto Add Liquidity Bot
- Go to My Liquidity
- Choose the pair
- Select Add Liquidity to this pair
- On the right panel, find Setting Automatic Liquidity Addition
- Click Stop (red button)
- Click Stop Auto Add Liquidity
- Confirm in your wallet

Explain
The Auto Add Liquidity Bot does two things:
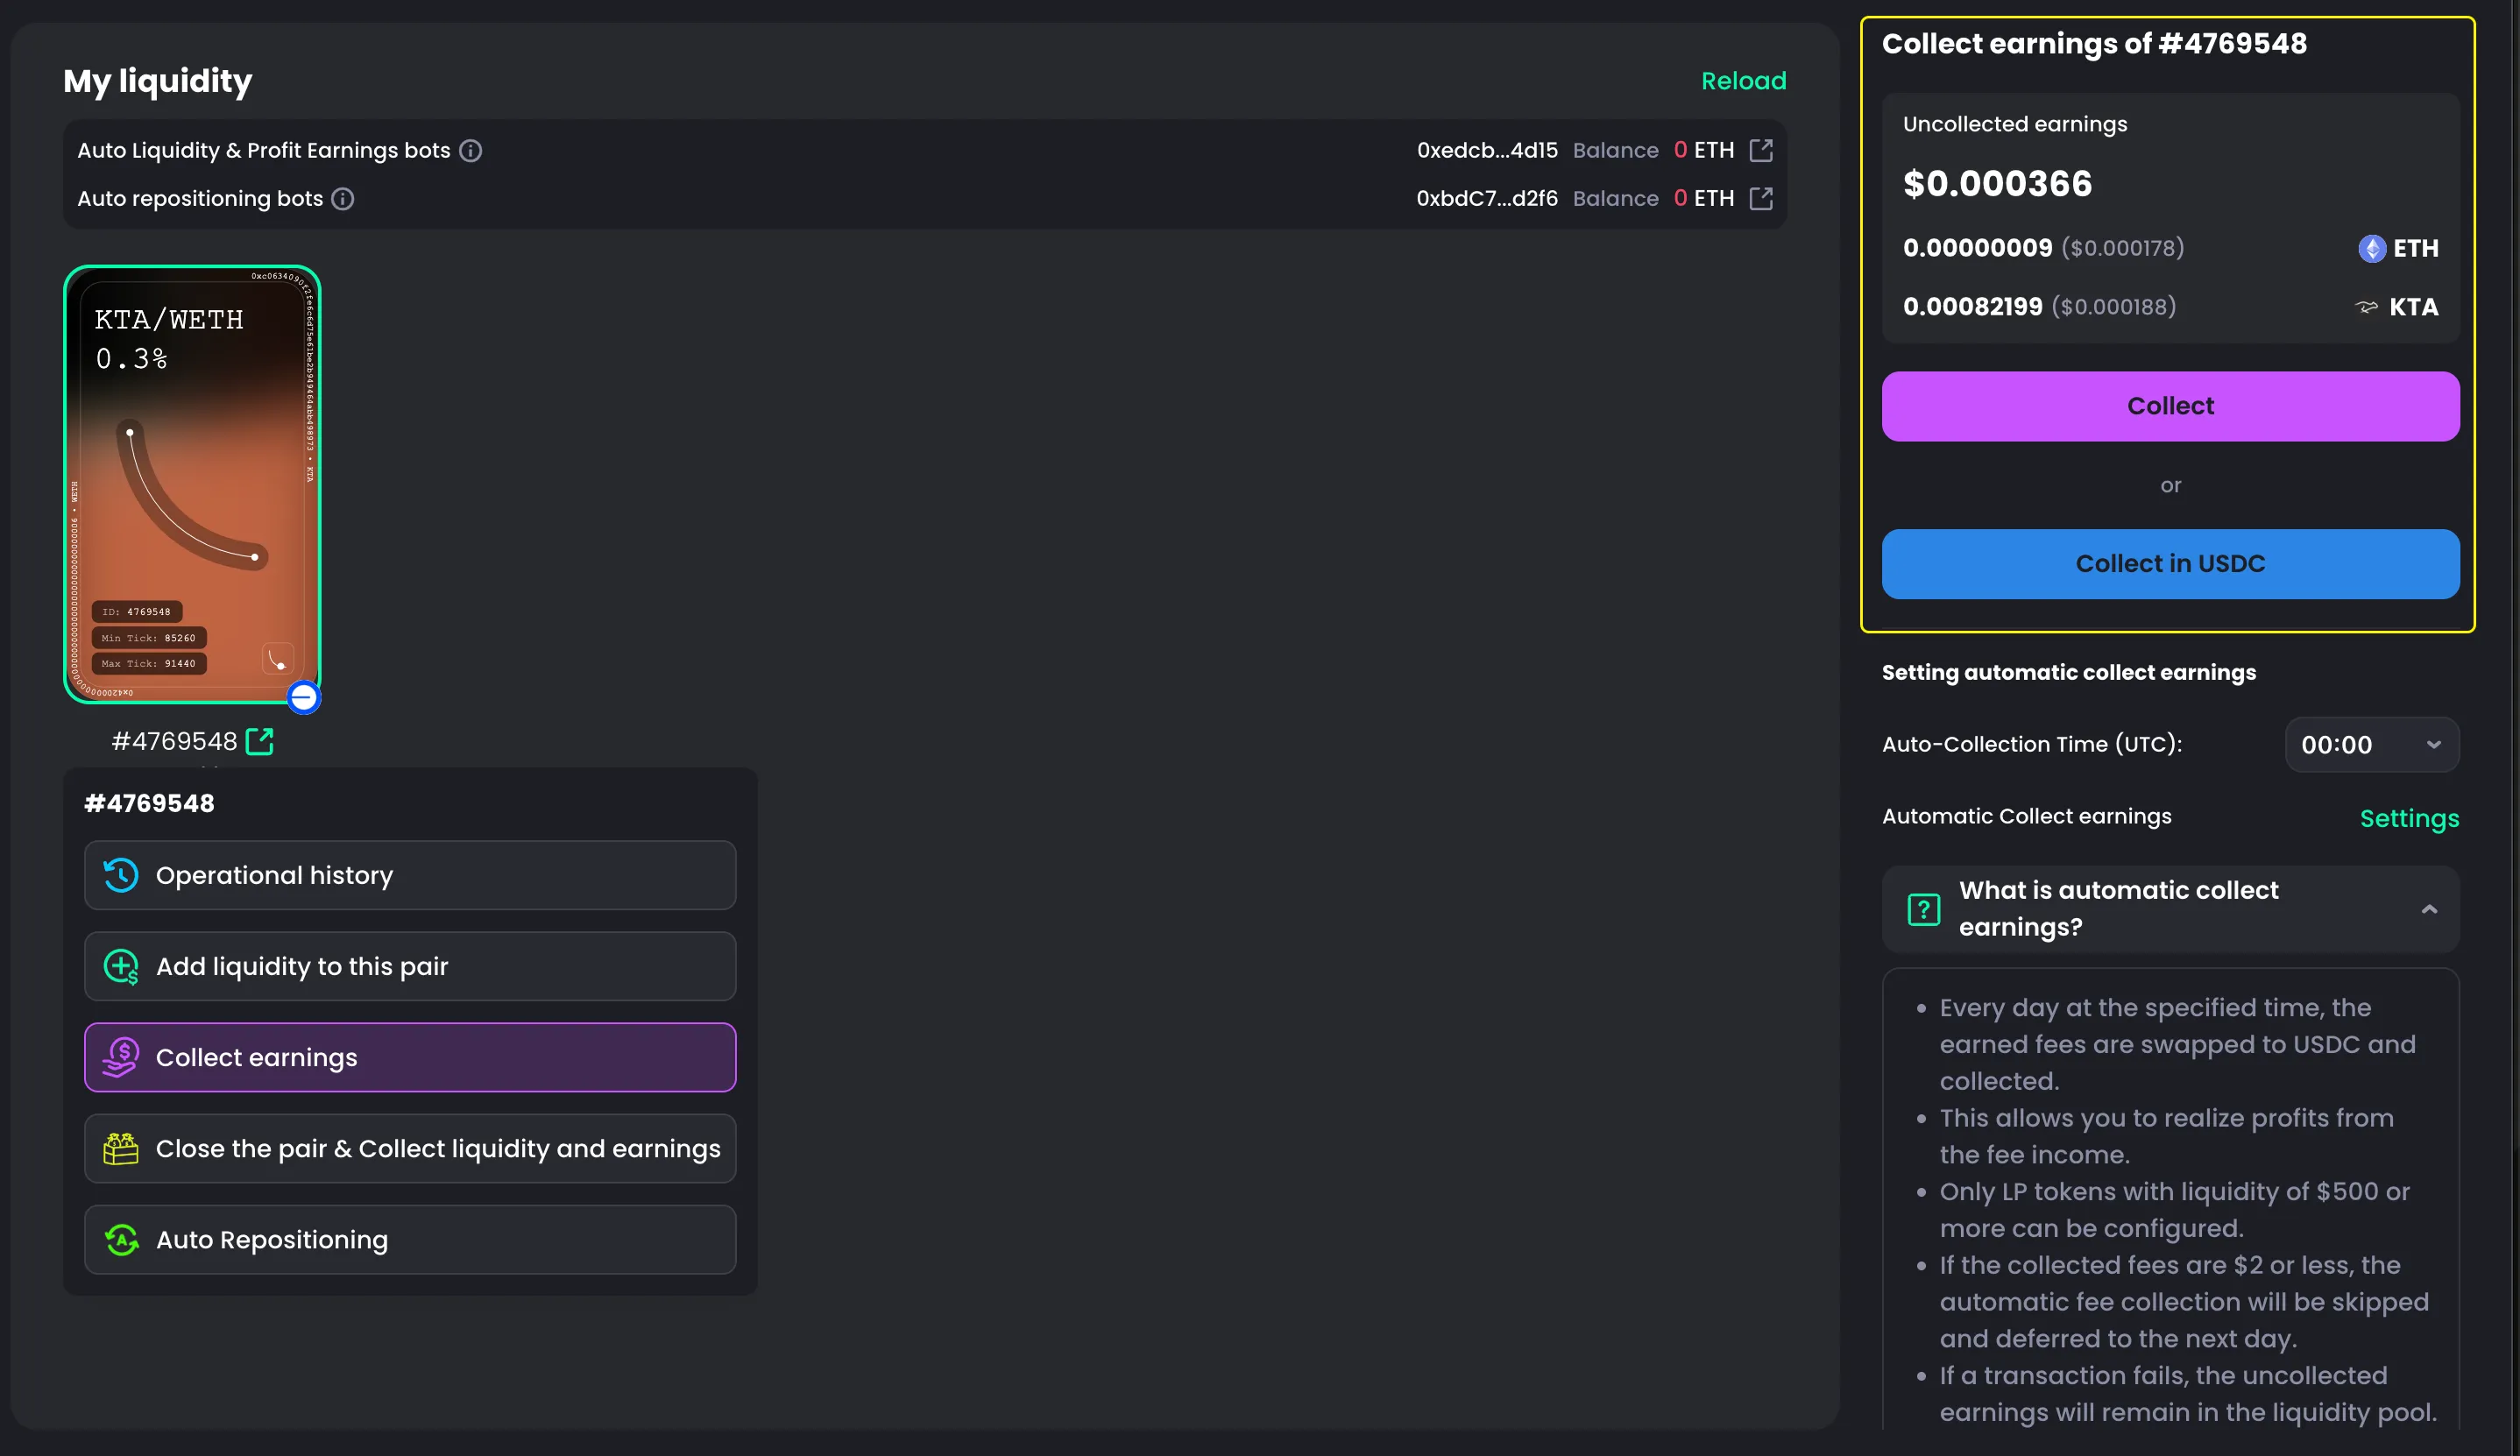
- It collects your earnings automatically
- It adds those earnings back into the pool
This helps increase your liquidity over time.
The bot only adds liquidity when earnings are $2 or more.
Why?
- It means the pool has good trading activity
- More activity = more rewards
- Adding more liquidity can increase your future earnings
- It also helps the pool grow and handle more trades
Notice
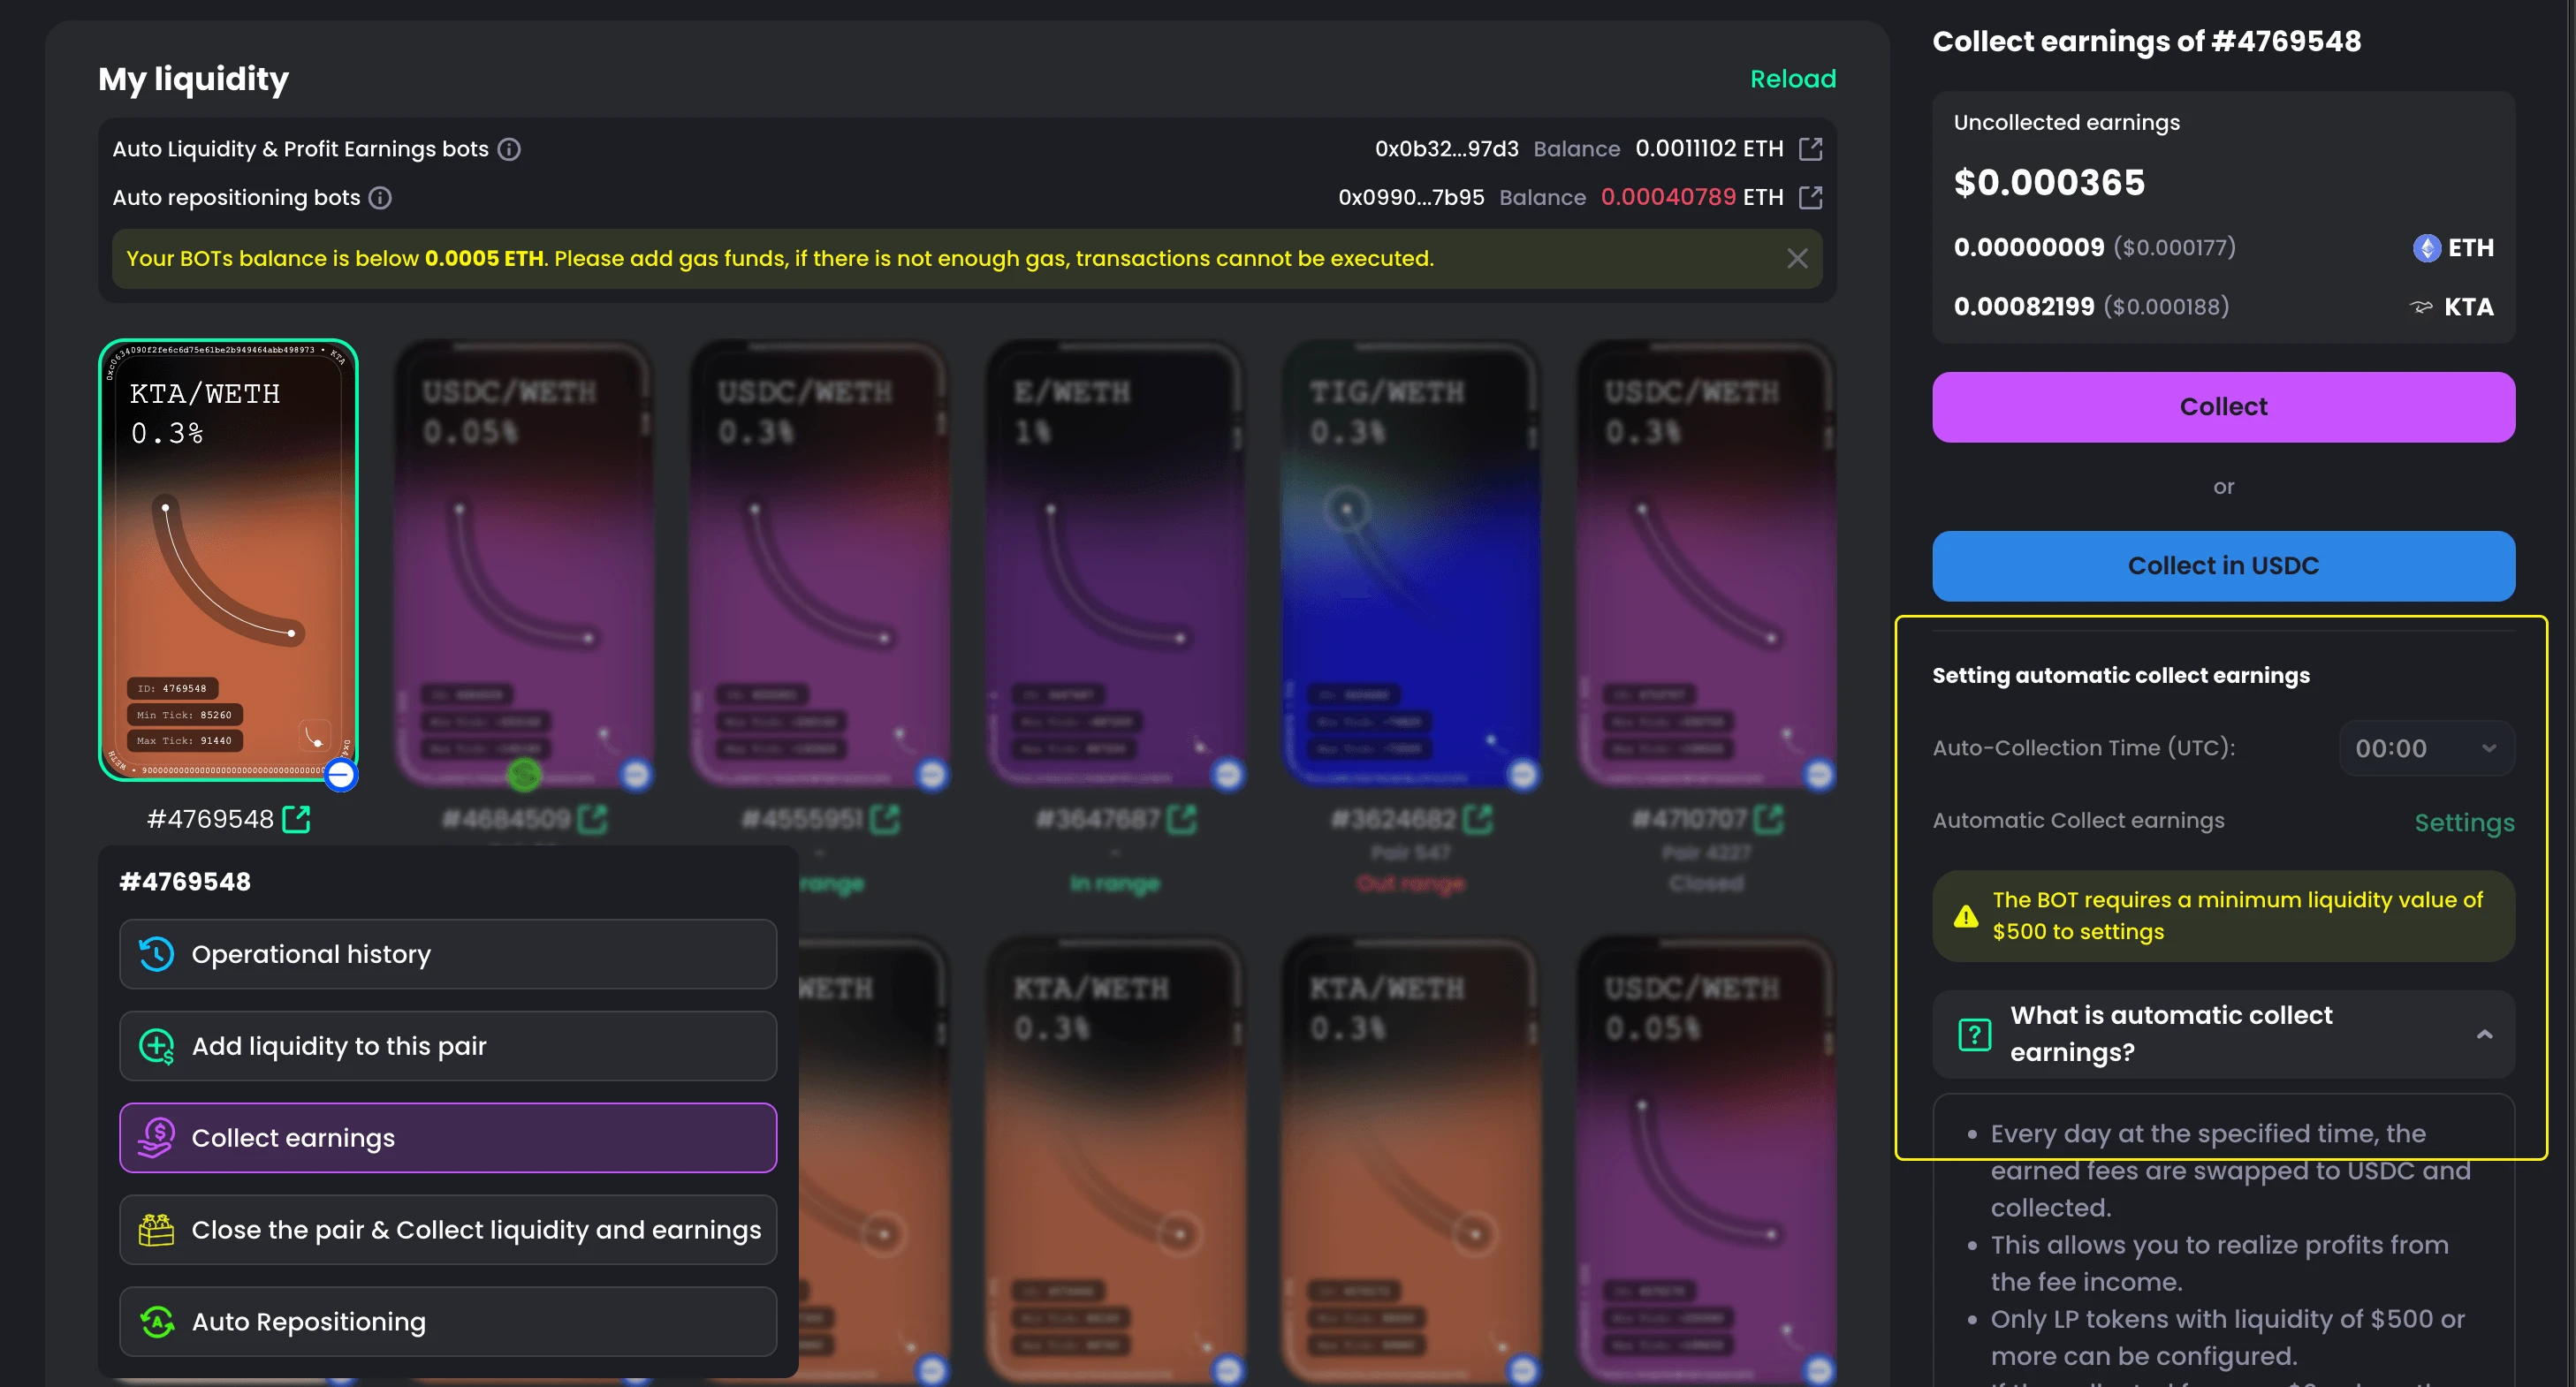
- The Auto Fee Collection Bot only works with liquidity positions of $500 or more
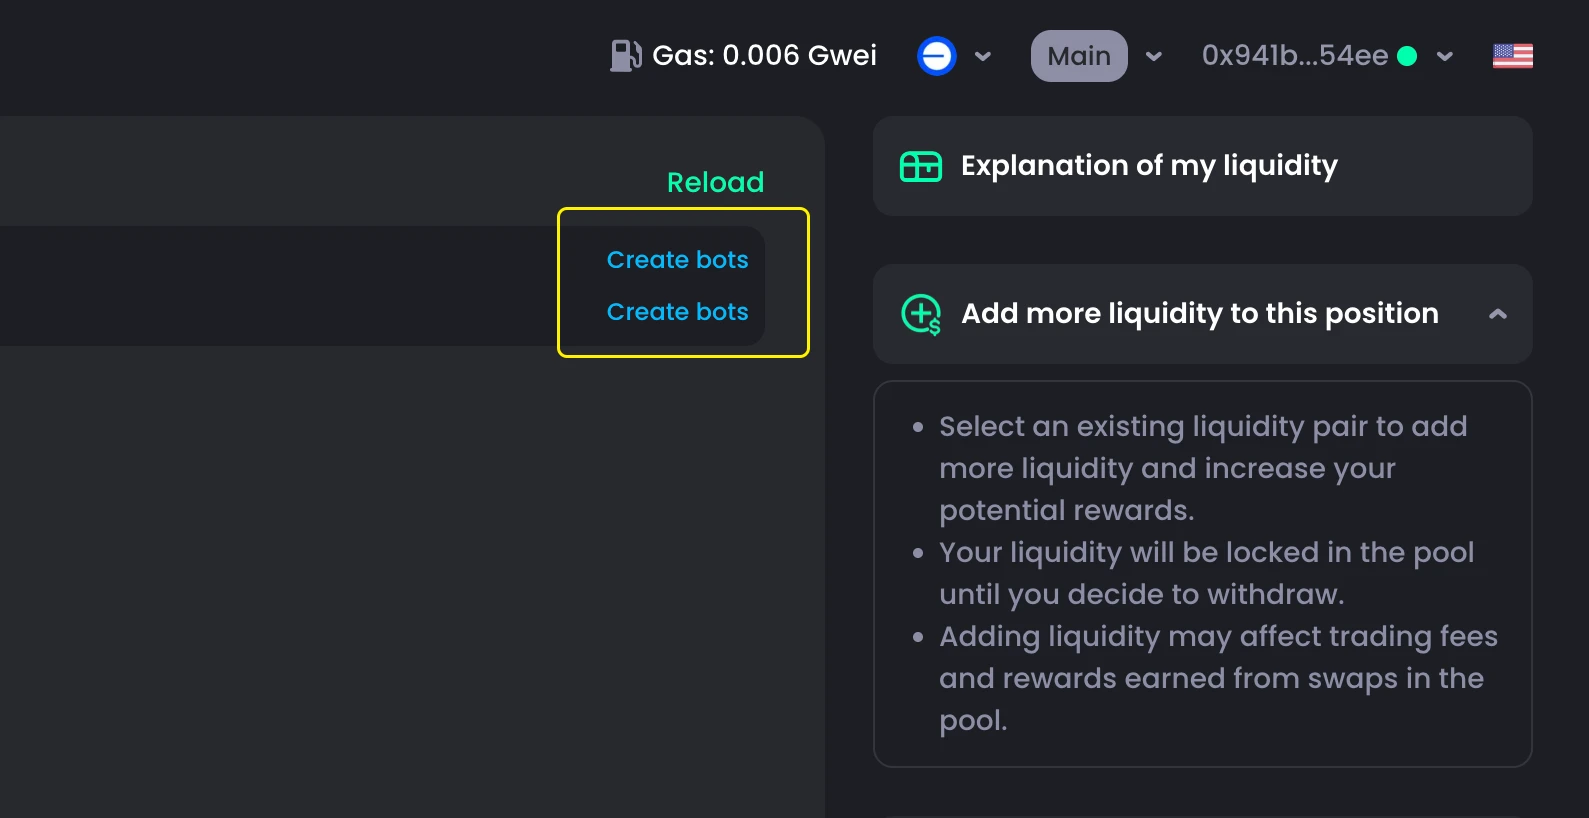
- For smooth operation, deposit at least $2 of ETH (or BNB on BSC) into the bot
- For best performance, we recommend $5 or more
- Supported networks: Ethereum, Base, BNB Chain, Arbitrum, Optimism
- ETH sent to the bot cannot be refunded
- It is only used for gas fees and transaction approvals